Installing Roof-Integrated Solar PV: A UK Householder Guide
A step-by-step guide to installing flush, roof-integrated solar PV in the UK, covering costs, structural rules, MCS standards and installation timelines.
- Written by
- Net Zero Home Scheme editorial team
- Last updated
- Topic
- solar, energy efficiency, mcs
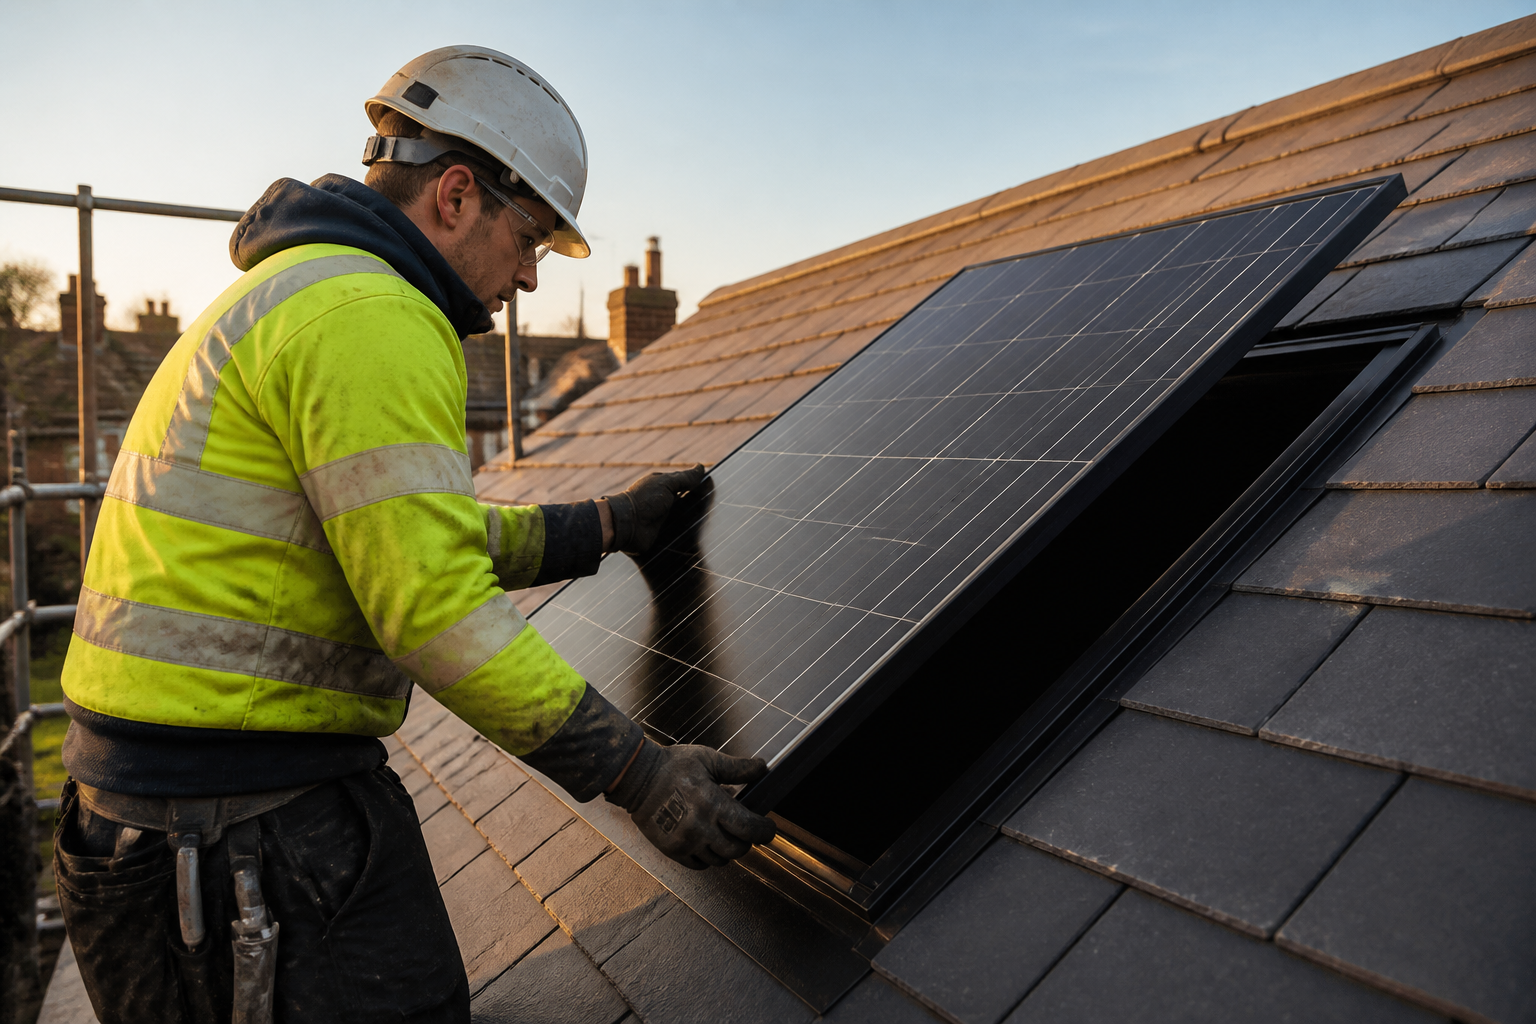
If you are planning a roof replacement, a loft conversion, or an extension, mounting standard solar panels on top of existing tiles is not your only option. Roof-integrated solar photovoltaic (PV) systems, also known as in-roof solar, replace sections of standard roof tiles or slates entirely. The solar modules sit flush with the surrounding roof line, acting as both the primary weatherproof covering and the electricity generator.
While retrofitting in-roof solar to an existing, undamaged roof can be more labor-intensive because sound tiles must be removed, it offers compelling aesthetic and financial advantages when combined with wider roofing works. This practical guide covers what you need to check, real costs, building regulation compliance, questions for your installer, and the realistic timeline for installation in England, Scotland, and Wales.
How does in-roof solar differ from traditional on-roof systems?
Traditional on-roof solar panels attach to aluminium mounting rails anchored into the timber rafters using metal roof hooks that slot beneath existing tiles. In contrast, roof-integrated systems use dedicated plastic or metal tray mounting kits fitted directly onto the roof battens. The solar panels fit flush into these trays, surrounded by engineered lead-free flashing kits that shed rainwater onto adjacent slates or tiles.
This structural difference affects three main performance and design factors:
- Aesthetics and profile: Integrated panels sit level with the roof plane, creating a seamless architectural finish that many local planning authorities prefer, particularly in conservation areas.
- Thermal management: Solar PV cells lose approximately 0.3% to 0.4% of output efficiency for every degree Celsius rise above 25°C. Because air cannot circulate as freely behind flush-mounted panels as it does beneath on-roof rails, in-roof arrays can run slightly hotter in peak summer, causing a minor summer yield reduction of around 2% to 5%.
- Material offset: On new roofs or complete re-roofs, in-roof panels replace roof tiles beneath them, saving on tile material costs and slate laying labor.
What building regulations and structural checks are required?
Roof-integrated solar systems must fulfill the structural and weatherproofing duties of the roof tiles they replace. Before signing any contract, ensure your installer verifies the following building standards:
- Structural integrity (Approved Document A): Your roof timbers must support both the solar array and wind suction forces. Integrated systems are generally lighter than traditional tile-and-rail setups, weighing around 12 kg to 15 kg per square metre compared to 20 kg to 30 kg for concrete tiles, which reduces overall dead load. However, wind uplift force calculations under BS 6399-2 or BS EN 1991-1-4 must still be verified.
- Weather resistance (Approved Document C): The flashing system surrounding the array must carry full waterproofing certification, such as BBA (British Board of Agrément) or TÜV approval.
- Fire safety (Approved Document B): Integrated solar systems form part of the external roof envelope and must meet fire classification requirements under BS 476-3 or BS EN 13501-5 to prevent the spread of fire across roof coverings.
- Electrical safety (Approved Document P and BS 7671): DC cabling beneath the roof deck must be routed safely, protected from mechanical damage, and connected via an accessible DC isolator switch.
What does in-roof solar cost in the UK?
The total cost of an in-roof solar installation depends on system capacity, roof access, and whether the project is part of broader roofing works. A standard 4.2 kWp in-roof array typically comprises 10 to 12 panels covering roughly 20 to 24 square metres.
Here is a breakdown of average UK installed costs for typical system sizes:
| System Specification | Typical Hardware & Flashing Cost | Full Installation Cost (Retrofit) | Full Installation Cost (During Re-roof) |
|---|---|---|---|
| 3.2 kWp (8 panels) | £3,200 - £4,000 | £6,500 - £7,800 | £4,800 - £5,800 |
| 4.2 kWp (10 panels) | £4,000 - £5,000 | £7,800 - £9,200 | £5,800 - £7,000 |
| 6.0 kWp (14 panels) | £5,800 - £7,200 | £10,200 - £12,000 | £8,000 - £9,800 |
When installed during a full re-roofing project, the overall cost is significantly lower because scaffolding is already erected, roofers are on site, and you save between £15 and £35 per square metre on roof tiles that are no longer needed beneath the array.
In energy cost context, with household energy bills forecast by BBC News in September 2026 to reach an annual average of £1,999 from January, generating your own solar electricity provides substantial long-term protection against volatile grid prices.
What is the step-by-step installation process and timeline?
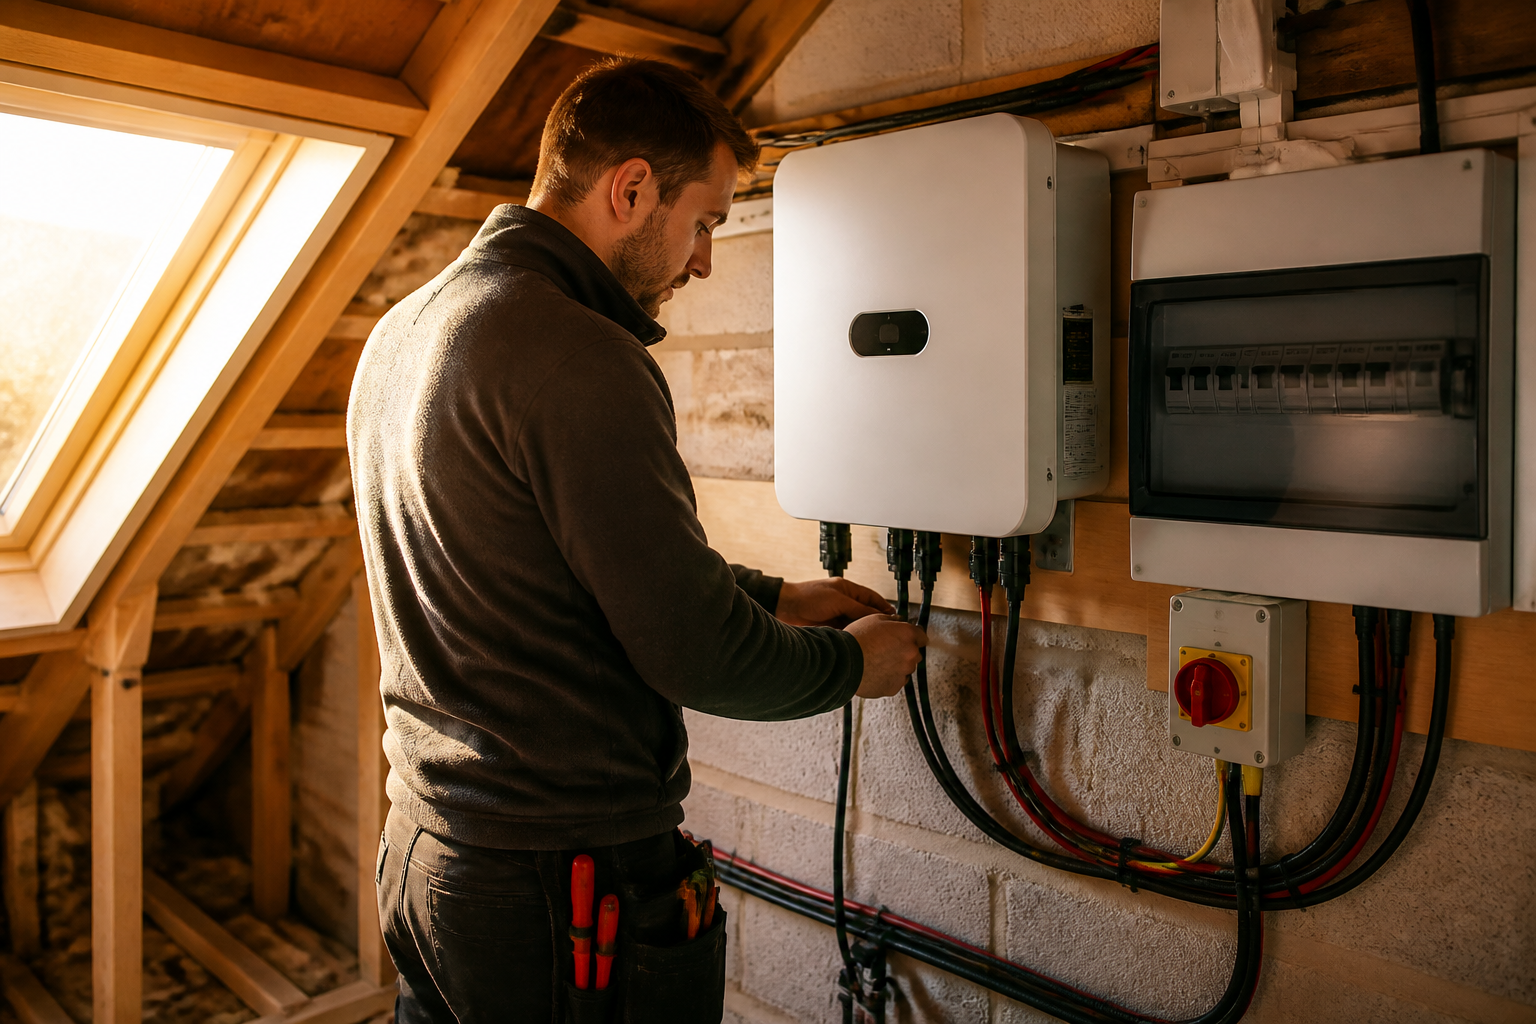
A typical residential in-roof solar project takes four to eight weeks from initial survey to final commissioning, with physical on-roof work taking two to three days.
- Technical site survey (Week 1): An installer conducts a detailed survey checking roof pitch (ideally between 20° and 50°), structural batten condition, consumer unit capacity, and cable routes to the inverter location.
- DNO application and ordering (Weeks 2 to 4): For systems over 3.68 kW single-phase output, the installer submits a G99 application to the local Distribution Network Operator (DNO). Systems at or under 3.68 kW use the simpler G98 notification route after installation.
- Roof preparation and tray installation (Day 1 of build): Scaffolding is erected. Roof tiles are stripped from the designated solar zone. Counter-battens and ventilation membranes are fitted, followed by interlocking plastic or metal mounting trays.
- Flashing and panel mounting (Day 2 of build): Top, bottom, and side flashings are woven directly into surrounding tile or slate courses to guarantee a watertight seal. Solar panels are seated into the trays and secured with concealed side clamps.
- Electrical wiring and commissioning (Day 2 or 3 of build): DC strings are run into the loft space to the inverter. AC connections are made to the consumer unit alongside a generation meter or smart meter CT clamp. The system is tested, commissioned, and registered with the Microgeneration Certification Scheme (MCS).
What accreditations must your installer hold?
To ensure eligibility for export tariffs, such as the Smart Export Guarantee (SEG), and to protect your property, your installer must hold:
- MCS Accreditation: Essential for the solar panels, mounting tray system, and installation company.
- Consumer Code Membership: Membership of RECC (Renewable Energy Consumer Code) or HIES (Home Insulation and Energy Systems Contractors Scheme) to safeguard your deposit and warranty.
- Electrical Certification: Registration with NICEIC, NAPIT, or STROMA for Part P self-certification of grid-connected AC wiring.
Questions you should ask before signing a contract
- Is the flashing kit specifically certified for my existing roof tile profile, such as Marley Ludlow, concrete double Roman, or natural slate?
- Does the quotation include full scaffolding, DNO application fees, and Building Control notification fees?
- What ventilation provisions are built into the tray system to dissipate heat behind the panels?
- What are the product warranties for the panels (typically 12 to 25 years) and the tray weathering system (typically 20 to 25 years)?
What this means for you
If you are planning a new roof, extension, or conservation area project, in-roof solar PV delivers a superior aesthetic finish while offsetting tile material costs. While retrofit installations on undamaged roofs carry a cost premium compared to on-roof mounting rails, the flush appearance and integrated weatherproofing make it a popular choice for UK homeowners modernising their properties.
If you are an employee whose organisation participates in the Net Zero Home Scheme, you can access pre-vetted, MCS-accredited solar installers offering transparent member pricing across England, Scotland, and Wales.
Frequently asked questions
Can in-roof solar panels be installed on a slate roof?
Yes, in-roof solar systems work exceptionally well with natural or synthetic slate roofs. Specialized slate flashing kits weave underneath surrounding slates, creating a flat, aesthetically striking finish that often meets strict local authority design guidelines in heritage or conservation zones.
Do in-roof solar panels leak over time?
When installed according to manufacturer instructions by an MCS-accredited professional, in-roof solar systems are completely watertight. The surrounding flashing kits function identically to high-quality roof windows, directing rainwater safely off the array and onto surrounding tiles.
Can I add battery storage to an in-roof solar system?
Yes. An in-roof solar array generates direct current (DC) electricity in exactly the same way as an on-roof system. You can pair the array with a hybrid inverter connected to a home battery, or install an AC-coupled battery system connected directly to your main consumer unit.