Installing Microinverter Solar PV: A UK Householder Guide
A practical guide to fitting microinverter solar panels in the UK, covering roof shading checks, equipment costs, MCS rules and grid paperwork.
- Written by
- Net Zero Home Scheme editorial team
- Last updated
- Topic
- solar, home energy, mcs
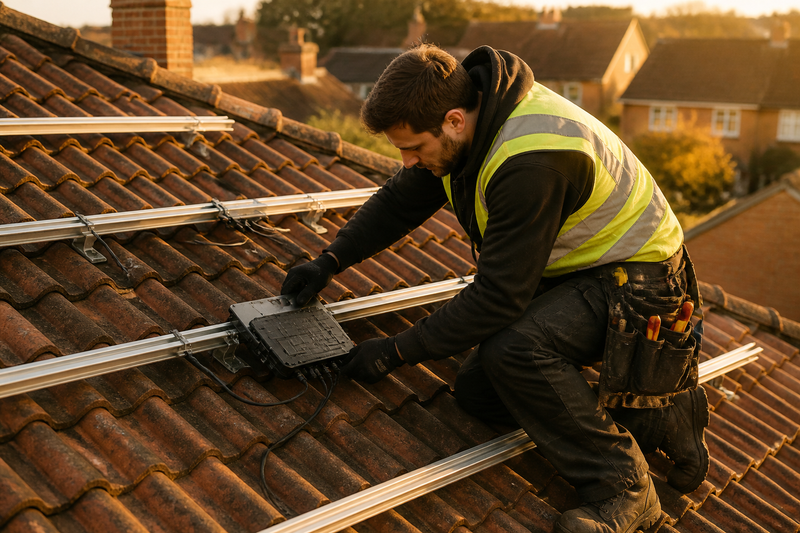
Standing in a garden in Sussex on an autumn afternoon, looking up at an L-shaped roof split across three orientations with a tall brick chimney casting a dark shadow over two tiles, standard solar advice starts to break down. Traditional solar arrays run on a single string inverter where panels are wired together like old Christmas tree lights. If one panel falls into shadow, output across the whole chain drops. Microinverters solve this by attaching a dedicated miniature inverter behind every individual panel on your roof.
Here is a step-by-step practical guide to assessing, costing and installing a microinverter solar system on your home.
1. Assess your roof geometry and shading profile
The first step is evaluating whether your property actually needs microinverter technology. If you have a single, unshaded south-facing roof, a conventional central string inverter is generally more cost-effective. Microinverters deliver their real financial benefit on homes with complex rooflines, dormer windows, nearby trees, or multiple roof aspects such as east and west pitches.
Each microinverter carries its own Maximum Power Point Tracking (MPPT) circuit. This means panel output is optimised individually. If a passing cloud or chimney shadow covers one panel, the remaining panels on the roof continue generating power at full capacity.
Before booking a site survey, check these key factors on your home:
- Roof orientations: Note whether your panels will sit on multiple roof faces, such as east, west and south.
- Shading hazards: Identify any trees, telegraph poles or neighbouring gables that cast shadows at different times of the day.
- Loft space and consumer unit access: Microinverters convert direct current (DC) into alternating current (AC) right on the roof, meaning high-voltage DC wiring does not enter your loft. However, an AC cable must still run cleanly from your roof space down to your main electrical consumer unit.
2. Compare equipment options and lifetime costs
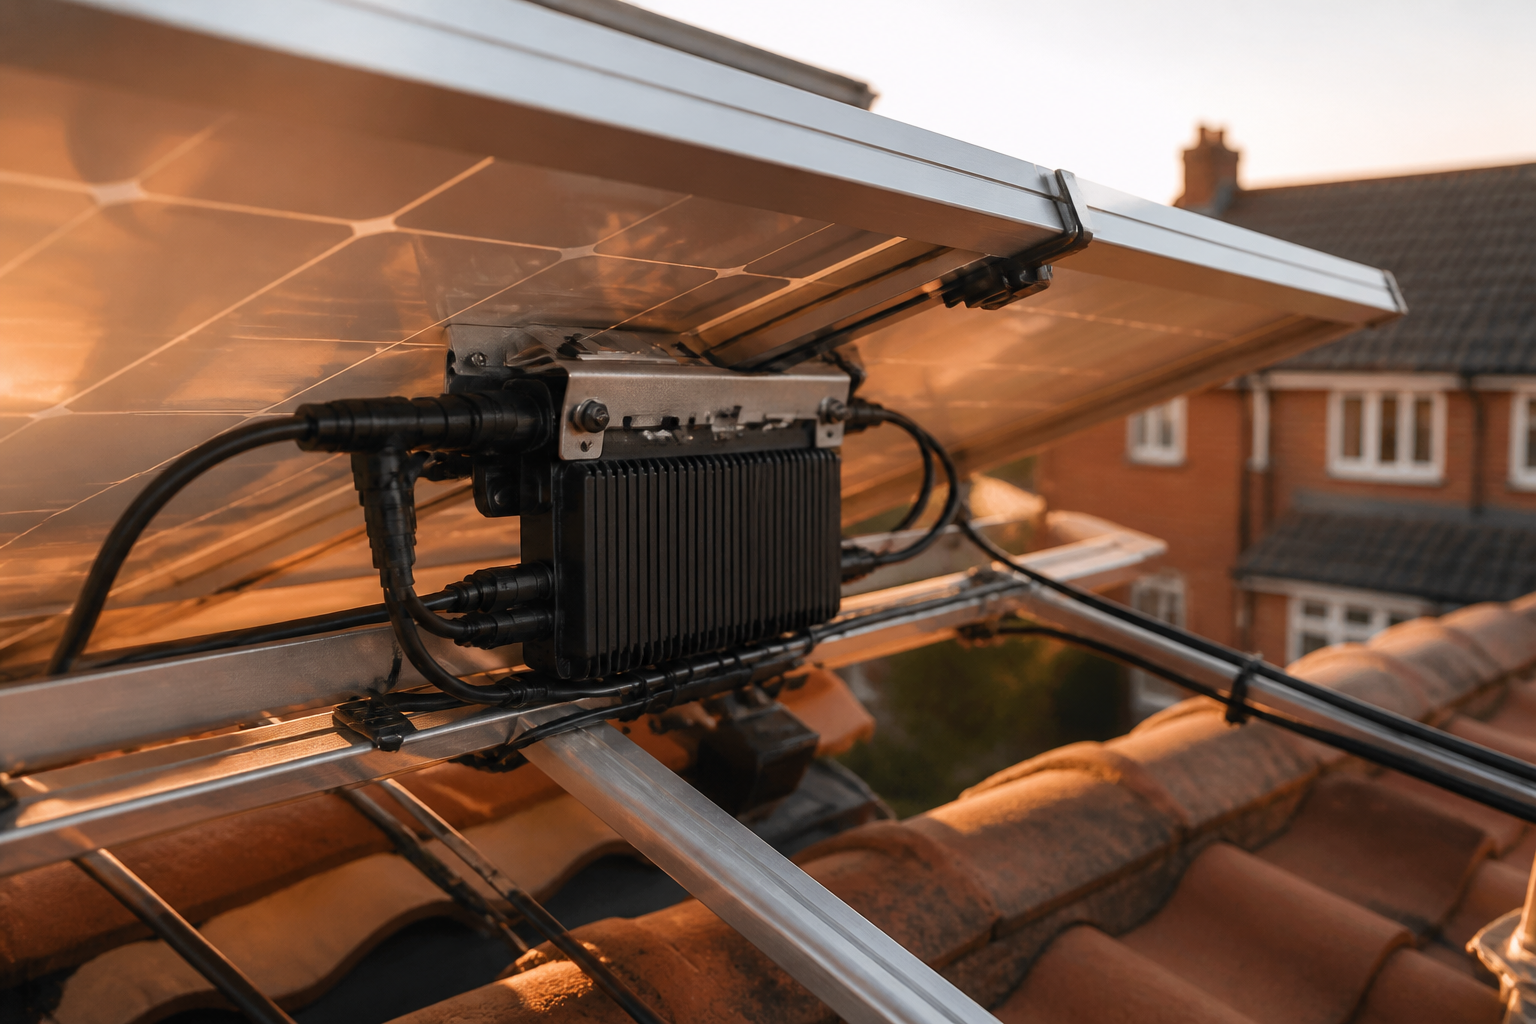
Microinverter systems carry a higher upfront hardware cost than standard string inverter setups, but they offer longer manufacturer warranties and lower replacement overheads over time. Central string inverters typically carry a 5 to 10 year warranty and often require replacement midway through the 25-year lifespan of the solar panels. Microinverters from leading manufacturers usually ship with 25-year warranties as standard, matching the expected life of the solar modules themselves.
| System configuration | Typical 4 kWp installed cost | Inverter warranty standard | Ideal roof layout | Impact of single component fault |
|---|---|---|---|---|
| Single string inverter | £5,500, £6,500 | 5 to 10 years | Single pitch, zero shading | Entire array stops generating |
| String inverter with optimisers | £6,500, £7,500 | 12 to 25 years | Two pitches or mild shading | Optimiser bypasses affected panel |
| Microinverter setup | £7,200, £8,500 | 25 years | Multi-pitch, dormers or shading | Only affected panel drops out |
When reviewing installer quotes, ask for a detailed breakdown between panel costs, mounting hardware, microinverters, and the gateway communication hub. The hub connects your roof units to your home Wi-Fi network, allowing you to monitor real-time generation panel by panel through a smartphone app.
3. Verify installer credentials and grid paperwork
Installing microinverters involves both roof work and specialized AC electrical wiring across your roof framework. You should ensure your chosen installer holds the correct technical certifications before signing any contract:
- MCS Accreditation: Microgeneration Certification Scheme (MCS) registration is mandatory if you intend to apply for Smart Export Guarantee (SEG) payments. According to guidance from Ofgem, energy suppliers require a valid MCS certificate before paying you for exported electricity.
- Consumer Protection Membership: Confirm the business belongs to the Renewable Energy Consumer Code (RECC) or the Home Insulation & Energy Systems Contractors Scheme (HIES), which protect your deposit and guarantee workmanship.
- Electrical Competence: The electrician responsible for connecting the system to your main fuse board must be registered with NICEIC or NAPIT to self-certify compliance under Part P of the Building Regulations and BS 7671 electrical safety standards.
Finding a trustworthy installer who understands multi-inverter AC roof wiring is critical. If your workplace offers The Net Zero Home Scheme, you are matched directly with vetted, accredited installers who manage grid notifications, structural checks and installation to MCS standards. The scheme is free for employers to set up with no payroll administration, helping employees access member pricing of up to 15% off fitted solar panels and a battery.
Your installer must also manage grid compliance with your local Distribution Network Operator (DNO). Systems with an AC inverter output up to 3.68 kW per phase fall under Engineering Recommendation G98, allowing the installer to notify the DNO within 28 days after commissioning. If your microinverter system exceeds 3.68 kW AC output, the installer must submit a G99 application and await formal DNO approval before fitting begins, a process that typically takes 2 to 6 weeks.
4. Prepare for the installation day and commissioning
Once paperwork and structural assessments are complete, the physical installation usually takes between 1 and 2 days.
Here is what happens on site:
- Day 1 morning: Scaffolding erection and roof safety checks.
- Day 1 afternoon: Fixing roof hooks to rafter timbers, mounting aluminum rails, and securing individual microinverters underneath each panel location.
- Day 2 morning: Fixing solar modules to the frames, connecting each panel's DC leads directly to its dedicated microinverter, and running protective AC cabling down to your consumer unit.
- Day 2 afternoon: Fitting an AC isolator, connecting generation meters, powering up the gateway hub, and testing all electrical circuits.
At handover, your installer must provide an Electrical Installation Certificate (EIC), an MCS certificate, DNO notification confirmation, and your online monitoring account activation details.