Replacing a Solar PV Inverter: Costs, Rules and Steps
A practical UK guide to replacing a failed or aging solar PV inverter, covering diagnostics, string vs hybrid choices, DNO rules, costs and timelines.
- Written by
- Net Zero Home Scheme editorial team
- Last updated
- Topic
- solar, mcs, regulation
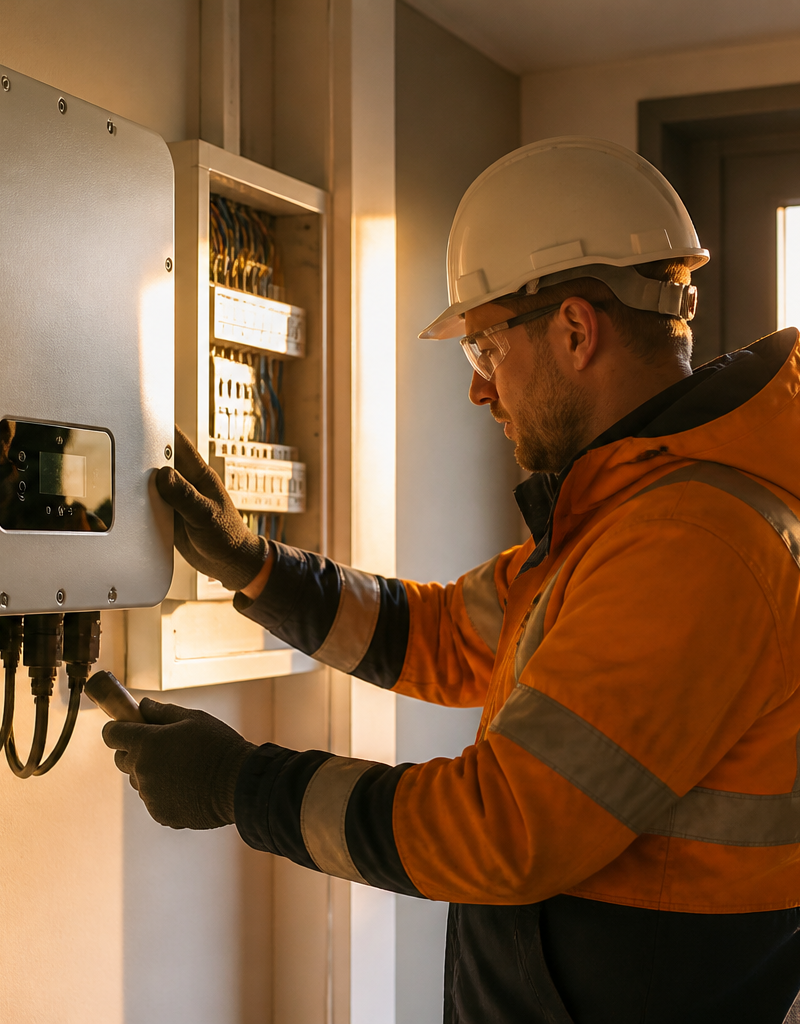
Solar photovoltaic (PV) systems installed during the peak Feed-in Tariff (FiT) years between 2010 and 2015 are reaching a key maintenance milestone across Great Britain. While solar PV panels regularly last 25 to 30 years, string inverters have an operational lifespan of 10 to 15 years. If your inverter shows a red fault light, displays an isolation error, or stops outputting power, replacing it is a routine maintenance process that restores your system to full yield.
Step 1: Diagnosing an inverter failure
Before calling an engineer, complete basic external checks to confirm whether the inverter itself has failed or if an external circuit breaker has tripped.
- Consumer unit check: Locate the miniature circuit breaker (MCB) or residual current device (RCD) dedicated to the solar array on your main fuse board and verify that it is in the ON position.
- Isolator switches: Check that both the AC isolator switch (located near the inverter or consumer unit) and the DC isolator switch (located beside the inverter) are switched ON.
- Status LEDs and display: Read the diagnostic display on the front panel. Fault codes such as Isolation Fault, PV Overvoltage, or Grid Out of Range indicate internal or wiring issues.
- Generation meter check: Look at your standalone generation meter. If the screen is blank or the red pulse light remains continuously off during daylight hours, the system is not converting electricity.
If resetting a circuit breaker causes it to trip instantly, do not attempt further resets. Turn off the AC isolator and contact a qualified electrician registered with NICEIC or NAPIT. Never open the casing of an inverter yourself, as solar arrays maintain hazardous high DC voltages whenever light hits the roof.
Step 2: Choosing string vs hybrid replacement
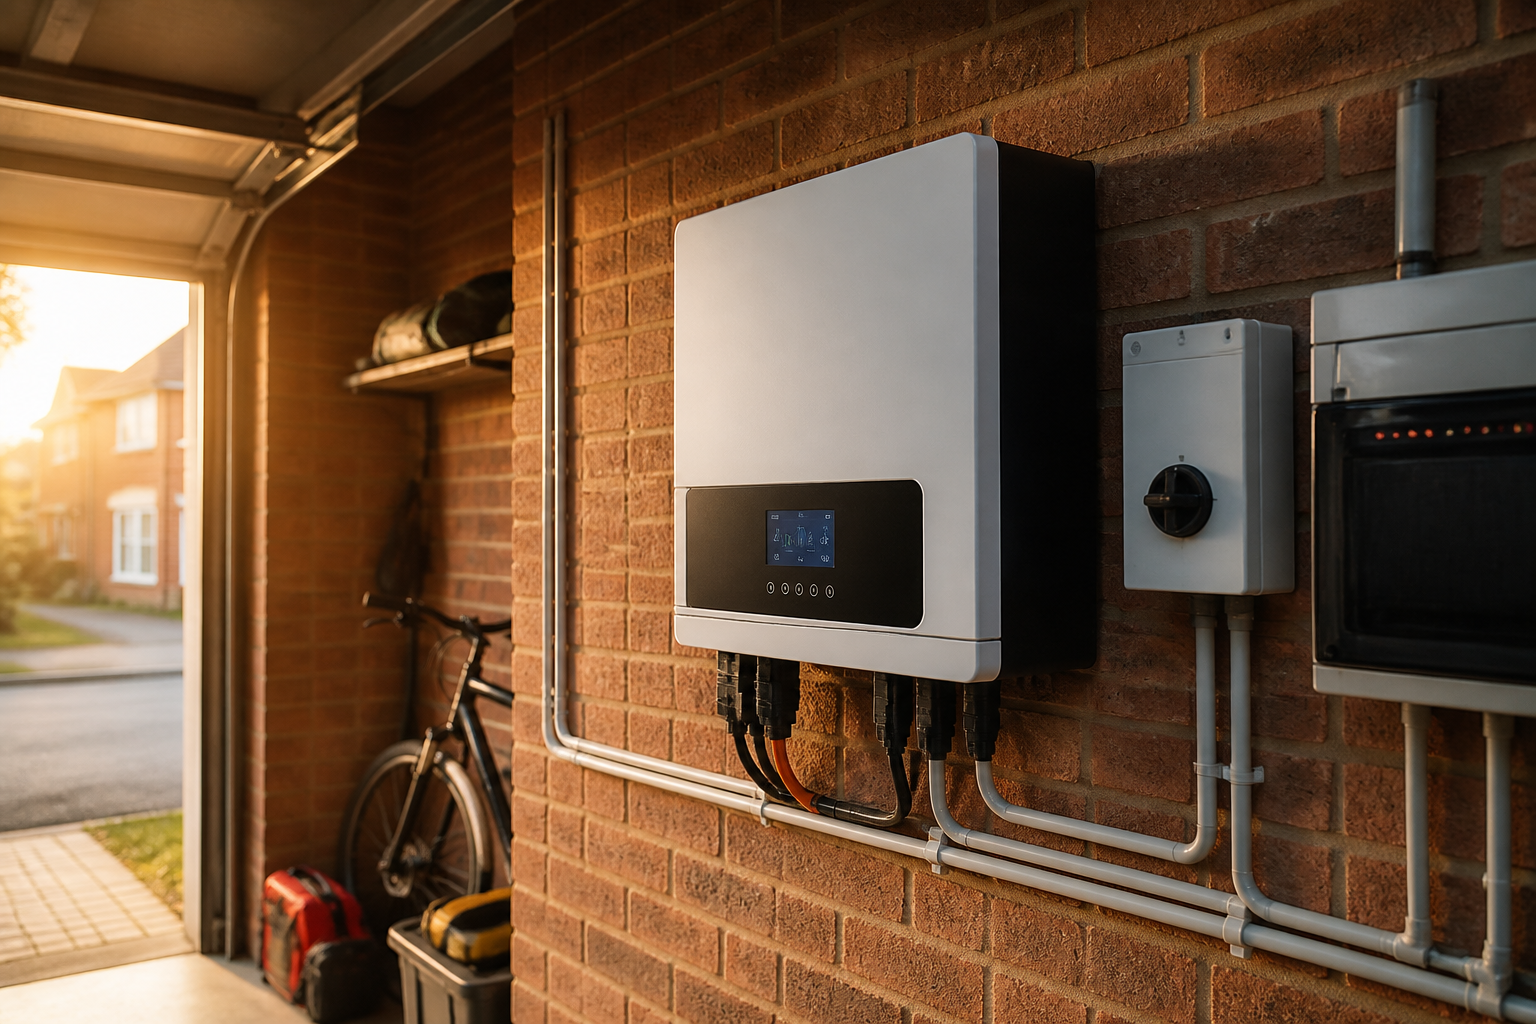
When replacing a failed unit, you must decide between a like-for-like string inverter or an upgraded hybrid unit.
A standard single-phase string inverter converts direct current (DC) from your solar panels into alternating current (AC) for your household circuits. Modern string units from manufacturers such as Solis, Growatt, SMA, and Fronius achieve peak conversion efficiencies over 97 percent. They are compact, reliable, and lower in upfront equipment cost.
A hybrid inverter manages both solar generation and home battery storage within a single unit. Choosing a hybrid inverter allows you to add a compatible high-voltage or low-voltage battery immediately or at a later date without purchasing a separate AC-coupled battery inverter. If your original solar system is over ten years old, upgrading to a hybrid inverter provides a straightforward foundation for future energy storage upgrades.
Step 3: Navigating DNO rules, MCS standards and FiT rules
Replacing solar hardware requires compliance with British grid connection and electrical safety standards.
Under Distribution Network Operator (DNO) regulations managed by the Energy Networks Association (ENA), replacing an inverter with a unit of identical or lower AC capacity (up to 3.68 kW single-phase) falls under Engineering Recommendation G98. Your installer must submit a formal notification to your regional DNO, such as National Grid Electricity Distribution or SSEN, within 28 days of commissioning. If upgrading to an inverter output exceeding 3.68 kW, your installer must apply for prior approval under Engineering Recommendation G99 before installation begins.
According to Ofgem guidelines, replacing a faulty inverter does not affect your existing Feed-in Tariff payments or Smart Export Guarantee (SEG) contract, provided your total panel capacity (kWp) remains unchanged and the generation meter is left undisturbed. All physical wiring must comply with BS 7671 IET Wiring Regulations, and work should be executed by an MCS-certified installer registered with a recognized consumer protection scheme such as RECC or HIES.
Step 4: Costs and realistic timelines
Inverter replacement costs depend on system capacity and whether you choose a standard string or hybrid model.
| Inverter Type | Hardware Cost Range | Installation & Commissioning | Total Typical Cost |
|---|---|---|---|
| Standard String Inverter (1.5 kW - 3.68 kW) | £450 - £900 | £250 - £400 | £700 - £1,300 |
| Standard String Inverter (4.0 kW - 5.0 kW) | £700 - £1,200 | £250 - £450 | £950 - £1,650 |
| Hybrid Inverter (3.0 kW - 5.0 kW) | £1,000 - £1,800 | £350 - £600 | £1,350 - £2,400 |
The standard process from diagnosis to completion follows a predictable timeframe:
- Initial inspection and quotation: 1 to 3 working days.
- Hardware delivery: 2 to 5 working days.
- Physical installation and testing: 2 to 4 hours on site.
- DNO notification submission: Completed by the installer within 28 days post-commissioning.
What to ask your installer
Before hiring an installation company, ask these five specific operational questions:
- Does the proposed replacement match the operating DC voltage window and maximum string current of my existing panel array?
- Is the replacement unit fully registered on the ENA Type Test Register for G98 or G99 compliance?
- Does the price quote include electrical safety certification, DNO notification, and disposal of the old hardware under WEEE regulations?
- What standard product warranty is included, and what is the cost to extend it from 5 years to 10 years?
- If selecting a hybrid inverter, is it compatible with third-party batteries or limited to proprietary battery chemistry?
If your employer participates in the Net Zero Home Scheme, you can access accredited installers offering member pricing on home renewables across England, Scotland and Wales.
What this means for you
An inverter failure does not mean your entire solar investment has expired. Silicon solar PV panels degrade slowly, typically losing less than 0.5 percent output per year, meaning 10-year-old panels frequently retain over 90 percent of their original rated power. Swapping a failed inverter quickly restores full system generation, ensuring your home continues to produce low-cost electricity while keeping your export contracts intact.
Frequently asked questions
Can I replace a solar inverter myself?
No. Inverter replacement involves working with dangerous DC voltages up to 600V from the rooftop array alongside 230V AC mains electricity. All work must comply with BS 7671 safety standards, and grid compliance requires proper competence and DNO notifications.
How long does a replacement solar inverter last?
Modern string and hybrid inverters generally come with a 5-year to 10-year manufacturer warranty, with an expected operational lifetime of 10 to 12 years. Many manufacturers allow you to purchase warranty extensions up to 15 or 20 years at the time of commissioning.
Will a replacement inverter increase my energy generation?
While a new inverter cannot increase the solar energy captured by your roof panels, modern units offer higher conversion efficiency and faster Maximum Power Point Tracking (MPPT) algorithms than older 2010-era models, resulting in a typical yield increase of 2 to 5 percent.
Sources
- Engineering Recommendation G98, Energy Networks Association
- Feed-in Tariff Guidance for Licensed Suppliers and Generators, Ofgem
- MCS Standards and Installer Certification, Microgeneration Certification Scheme